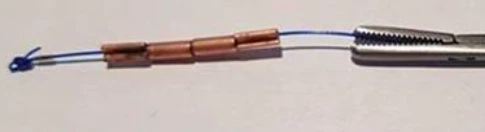
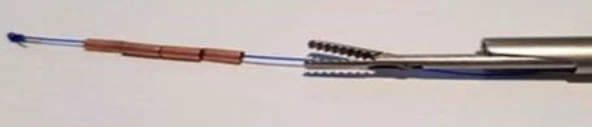
INDICATION
- GYN-CS® is indicated for contraception immediately following caesarean section after removal of the placenta for the prevention of early, unintended pregnancy or as a reversible alternative to sterilization.
DURATION OF ACTION
- GYN-CS® 3 - up to 3 years → contraceptive protection during interpregnancy interval
- GYN-CS® 10 - up to 10 years → reversible alternative for female sterilization
TOOLS NEEDED
- 1 x artery forceps and 1 x needle holder
- 1 taper point (non-cutting needle) - Vicryl 3.0 suture (one extra in case of bleeding)
PREPARATIONS
- Verification that no residual of the placenta is left over and bleeding is under control.
- Uterus is exteriorlized to allow the necessary access to the fundus uteri.
INSERTION STEPS
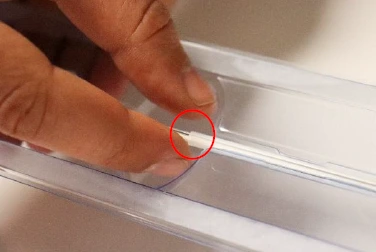
Handling
Remove GYN-CS® out of the blister by grabbing both applicator and tube.
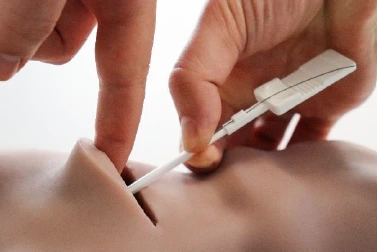
2. Insertion
Insert the applicator through the uterotomy up to the fundus in the midline.
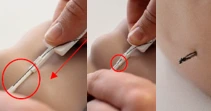
3. Transpiercing
Move the handle forward until knot has completely transpierced the serosa – keep tube in a fixed postion.
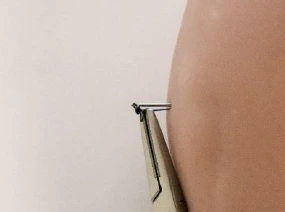
4. Clamping
Clamp forceps onto the visualization tube under the knot.
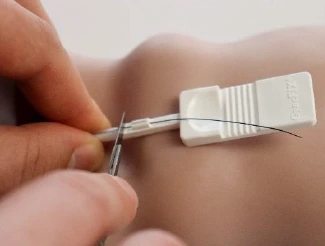
5. Cutting
Cut the tail with the scalpel in the front part of the tail holder.
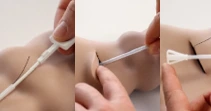
6. Removal
Remove the inner part of the applicator. Remove the tube including the triangle.
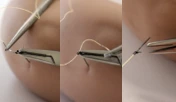
7. Threading
Thread a 3-0 vicryl taper point (noncutting) needle bio-degradable suture through the eye of the anchoring knot. The suture assures retention of the device until the involution occurs after which retention is achieved via the fundal anchoring knot. Remove the forceps from the visualization tube.
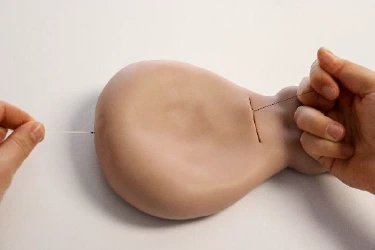
8. Positioning
Straighten the thread from both ends pulling the anchoring knot 1mm below the serosa.
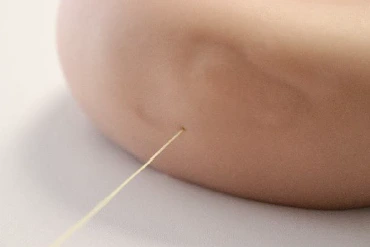
9. Correct placement
Correct knot placement is 1mm below serosa - correct positioning can be verified by palpating the knot with a finger.
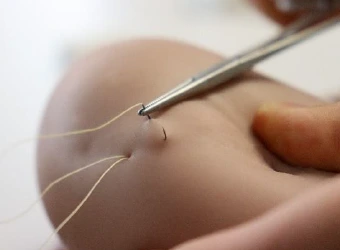
10. Stitching
Stitch the suture to the serosa, securing the anchoring knot below the serosa.
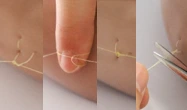
11. Knotting
Make 3 knots (the first knot normal followed by 2 firm knots), directly on the serosa. Shorten the vicryl thread.
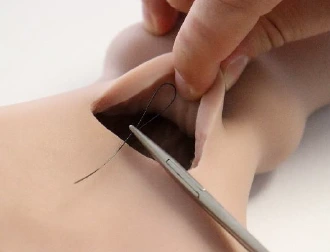
12. Looping
Loop and insert the tail into the cervical canal with the help of a forceps, pincet or manually.
PRIOR TO DISCHARGE
- Fill-out and hand over the GYN-CS® implant card/pass to the patient.
- Keep record of the lot number in the patient’s file.
- Check the length of the thread, adapt if necessary and loop into the cervical canal.
- → (applies only if patient has been hospitalized for some days)
CONTINUED CARE
Check the knot penetration (KP) by ultrasound.
- If KP ≥3.5mm and <5mm it should be controlled within 3-6 months.
- If KP < 3.5mm there is a higher risk of expulsion, in this case close follow-up is required.
- Check the length of the thread, adapt if necessary and loop into the cervical canal.
- Check the device on a yearly basis.
Evaluate the patient promptly if she has complaints like:
- Abdominal or pelvic pain, cramping, tenderness, malodorous discharge, bleeding, and/or fever.
- A missed period.
REMOVAL
ATTENTION
- GYN-CS® cannot be removed in the first 4 to 6 weeks following insertion!
- Do not grasp the copper sleeves!
- Make sure that the device is completely removed!
- Dispose the removed device according to the corresponding waste disposal policy.
Removal may be associated with some pain, bleeding and/or vasovagal reactions (e.g., syncope, bradycardia, seizures) in patients with a predisposition to these conditions.
Removal can be done with different kinds of instruments. Although we recommend a thin alligator/crocodile forceps (9 Fr.).
If the thread is not visible, the presence of the device can be assessed by ultrasound examination. If a blind attempt is unsuccessful, the identification and exteriorlization of the tail into the vagina can be accomplished hysteroscopically. Then removal is being done as described above using a e.g. crocodile forceps (9 Fr.).
Removal with alligator or crocodile forceps
Hysteroscopic removal with alligator or crocodile forceps